Take annotating to another level with reMarkable
Make the most out of handwriting directly onto the ebooks and documents on your paper tablet.

Annotating
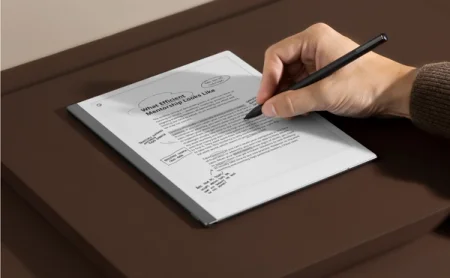
With all your ebooks, PowerPoint slides, text drafts, and web articles on your paper tablet, let’s explore the full potential of annotating using reMarkable.
Expand your margins
But before you start scribbling in the margins, here’s one quick tip: did you know you can adjust the layout of ebooks and PDFs on your paper tablet?
You can tailor the view of ebooks to fit your specific note-taking needs — by adjusting the line spacing, justification, margins, and the size of the text.
When working with PDFs, tap Adjust view to move and hide the margins. All the pages in the document will be cropped when using the tool, but you can reset or revert back to your original view at any time.

This allows you to tweak the amount of white space available on the page, so you can keep the text in clear focus when underlining or adding highlights, but opt for wider margins if you’d prefer a little more room for new ideas.
Read more:
How to import files
Give yourself even more space to write
Note pages offer a useful way to add space for more detailed thoughts or comments in your existing documents. They also prevent you from needing to break focus when you’re in the middle of a creative flow. You can add these blank pages to both PDF documents and ebooks, whenever you’re reading and find yourself short of space on the current page and in the margins.
Inside a document, simply tap the Document settings icon in the toolbar menu and tap Add note page. This inserts a fresh, blank page into the PDF or ebook you’re working in — giving you a whole new arena for annotating. Note pages become part of that PDF or ebook, but can also be moved around inside the document, or out to other notebooks, just like regular notebook pages.
Read more:
How to organize and edit PDFs on reMarkable
Work with layers
Layers can be used to make more complex drawings or sketches, or to show and hide sections of your work. When working with existing texts, such as PDFs or ebooks — or even PNG or JPEG files — the feature allows you to write, draw, and add comments or corrections on several levels at the same time.
Long-press on layers to name them.
You have five active layers at your disposal. You can hide, delete, or even rearrange layers by moving them up or down in the order that works best for you. Add a new layer to an ebook, and then make all your annotations disappear at the touch of a button, so you can continue reading once you’re done.
Read more:
How to get started with layers
A smarter pencil case
Now that you’ve got all your documents stored, adjusted, and prepped for work, you can start exploring all the benefits of your digital toolkit, where your highlighter will never run dry and your ballpoint pen will never leak. Made a mistake? Just undo or erase and try again.
Your reMarkable comes with eight distinct writing tools, all of which respond in their own unique ways to pressure, tilt, and direction of your strokes. With most of them, you can also choose between three levels of stroke thickness.
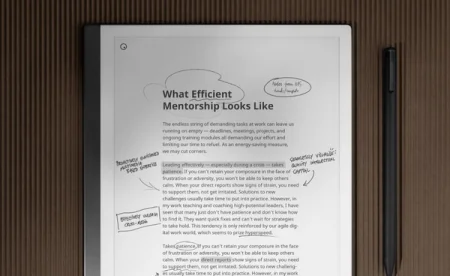
The highlighter is an annotators best friend, and a popular first choice for spotlighting particularly interesting portions of text. The fineliner is excellent for drawing a line under a word or phrase, as it provides a rounded, even stroke with the same thickness, regardless of the angle you hold it at. Or, for extra gravitas, opt for the marker. This tool has different line textures depending on the pressure and speed you write with, which makes it great for writing bold headers or adding extra emphasis where needed.

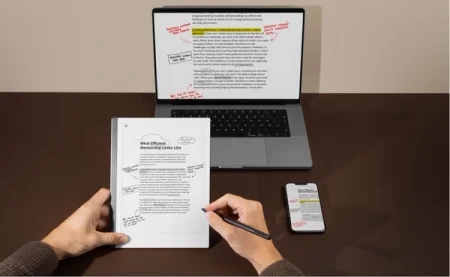
On your device, all writing tools display in either black, gray, or white. However, in our apps, when sending your files by email, or using Screen Share to present to others, the fineliner, marker, and ballpoint pen can all display in blue or red ink if needed. This can come in handy when adding corrections to a text draft or a research paper, or when you need to draw specific attention to a point in the text — such as flagging parts of a budget that need rebalancing.
In addition, the highlighter exports in radiant pink, green, and yellow, to make marked-up documents even easier to read. For example, you could use colors to differentiate between sections of text by theme. There’s also a grayscale option, useful for detailed shading when sketching or drawing.
Bonus tip:
The highlighter snaps perfectly into place to align with text, making for much neater workflow than in ordinary books. You can also color entire paragraphs with one single vertical stroke along the edge of the text you want covered.
Highlight entire paragraphs by drawing a vertical line across the text.
Read more:
How to get started with writing tools


