Personalize your notes with inspiring cover pages
Make the notebooks on your reMarkable paper tablet stand out with custom cover pages designed by you.

Never judge a book by its cover — unless it’s the cover of one of your own notebooks.
Your notebooks deserve cover pages as compelling as their contents. By creating custom cover pages, you not only add a bit of artistic flair to your reMarkable, but you also make the notes on your paper tablet more organized and findable at a glance.
Need a refresher on how to create a cover page? Here’s how:
Here are some example cover page styles to consider. Feel free to use these as inspiration or add your own creative twist:
White on black
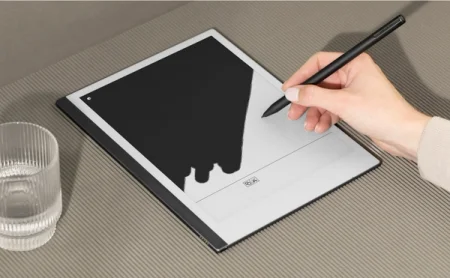
Dark pages with white text provide a beautiful contrast to the paper-like CANVAS display.
To create a dark page, draw a dark area with one of the thicker brushes, like the marker or paintbrush, and then use the selection tool to scale the area up. Copy and paste the selection until the whole page is covered. Finally, use your writing tool of choice and write or draw the title of your notebook in white ink.

Shapes
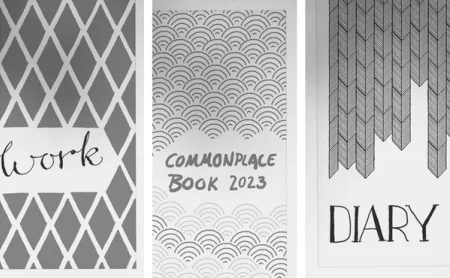
You can also use the selection tool to create elaborately patterned cover pages.
It all starts with the perfect shape. Draw your shape — be it a diamond, a squiggle, or a swirl — using a precision writing tool such as the fineliner. Clone the shape with the selection tool, move it into place, clone the new group of shapes, and repeat until the whole page is patterned to your liking.

Colors
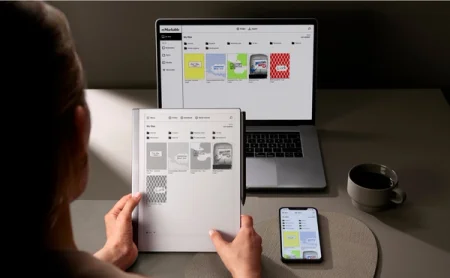
A colorful cover page can make a big splash when viewing your notebooks in the reMarkable desktop and mobile apps.
Many writing tools feature the option to write or draw in exported color, including the ballpoint pen, fineliner, marker, and highlighter. Mix and match colors and strokes to create eye-popping cover pages that are uniquely you.

Illustrations
If writing “Meeting notes” or “My diary” on the cover page isn’t your style, try decorating your cover page with an illustration instead.
The pencil is the best writing tool for sketching. It responds to the amount of pressure and tilt you use, changing the thickness of the line being drawn on the display.

Read more:
How to get started with writing tools
Collect your cover pages in a folder
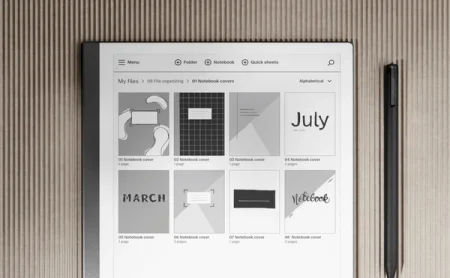
As you create your cover pages, collect them all in the same folder for easy access. Either to use as templates, or to keep track of your favorite designs.
The next time you want to create a new notebook, simply go to your cover page folder and duplicate the cover page you want — or the entire notebook — and move it to the right location on your paper tablet.


